
Introduction
How to install outdoor lighting is one of the most common questions for homeowners, contractors, and outdoor lighting buyers.
Proper installation not only improves safety but also ensures long-term performance. Whether for pathways, gardens, or entrances, understanding the correct process helps avoid costly mistakes.
This guide explains how to plan, install, and optimize outdoor lighting systems for reliable results.
👉 Explore our outdoor lighting collection

How to Plan Outdoor Lighting Installation
Before starting, planning is essential when learning how to install outdoor lighting effectively.
You should:
- Identify key areas such as pathways and entrances
- Divide the space into lighting zones
- Select the correct lighting type
Good planning ensures balanced light distribution and better performance.
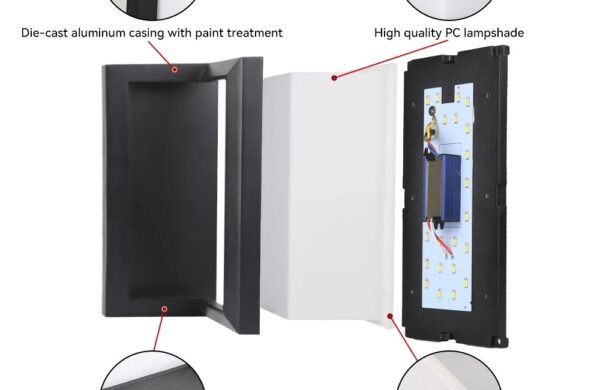
Tools and Materials for Outdoor Lighting Installation
To understand how to install outdoor lighting, you need proper tools and materials:
• Transformer for low-voltage systems
• Outdoor-rated cables
• Waterproof connectors
• LED lighting fixtures
• Basic installation tools
Using correct materials ensures safety and durability.
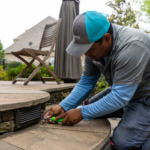
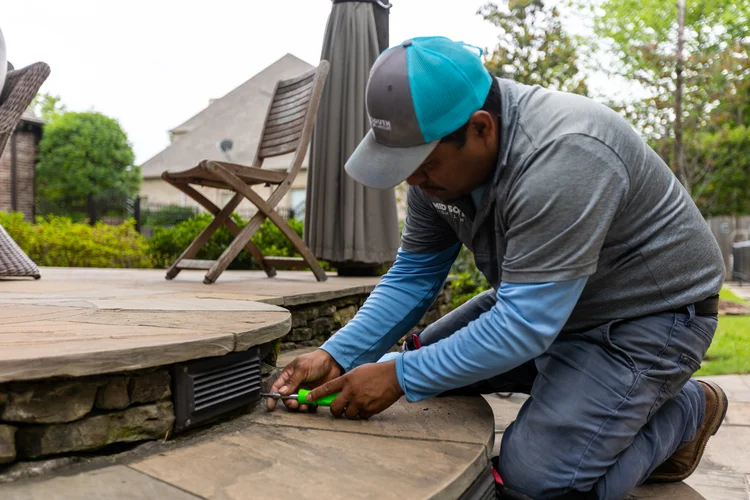
How to Install Outdoor Lighting Step by Step
Follow these steps for a standard installation:
- Plan the lighting layout and mark fixture positions
- Install the transformer and connect to power
- Lay outdoor cables along planned routes
- Mount lighting fixtures securely
- Connect wiring using waterproof connectors
- Test the system before final fixing
Low-voltage systems are commonly used because they are safer and easier to install.
👉 See more LED outdoor wall lights
Wiring and Safety Considerations
Proper wiring is critical when installing outdoor lighting.
Important rules include:
- Use outdoor-rated cables
- Install wiring at proper depth (for underground use)
- Ensure all connections are waterproof
- Turn off power before installation
Incorrect wiring can lead to system failure or safety risks.
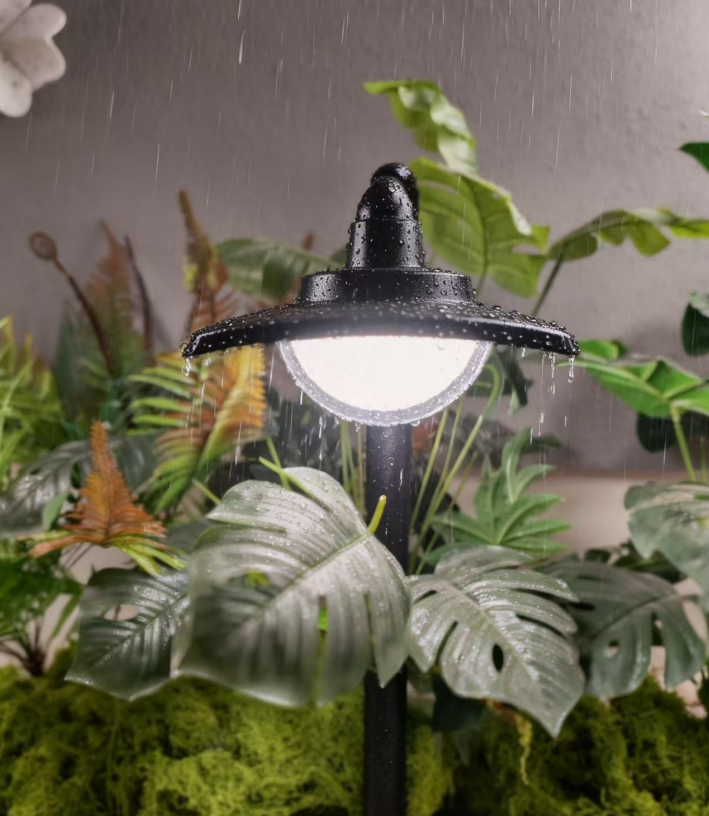
Why IP65 Matters in Outdoor Lighting Installation
Outdoor lighting must withstand rain, dust, and temperature changes.
IP65-rated lighting ensures:
- Protection from water and dust
- Stable long-term performance
- Reduced maintenance issues
👉 Learn more about IP65 waterproof standard
Common Mistakes When Installing Outdoor Lighting
Many installation problems come from simple mistakes:
- Poor planning of lighting positions
- Using non-waterproof components
- Incorrect wiring connections
- Over-lighting or uneven spacing
These issues can reduce both performance and lifespan.
Professional Tips for Better Outdoor Lighting Results
To achieve better results:
- Use layered lighting (path + wall + accent)
- Maintain consistent spacing
- Choose warm light for outdoor spaces
- Test lighting at night before final installation
Good lighting design improves both functionality and aesthetics.
Conclusion
Understanding how to install outdoor lighting correctly helps ensure safety, durability, and visual impact.
With proper planning, correct materials, and careful installation, outdoor lighting can significantly improve any space.
👉 Work with a professional outdoor lighting manufacturer